
To View and Edit Vehicles in your Fleet in the WorkPal portal click on the Fleet tile. You can also use the Fleet tab in the top menu bar.
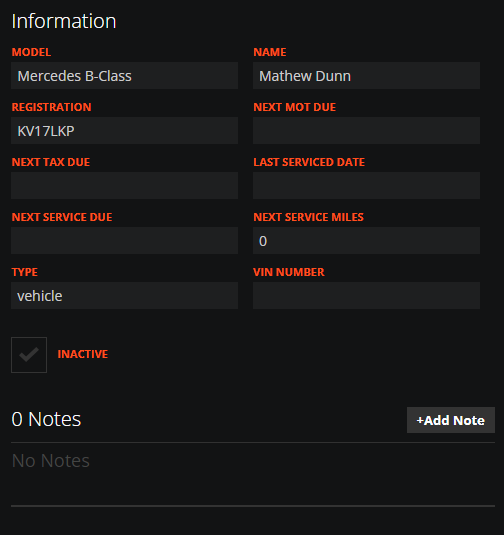
Here you can view and add Vehicles to your Fleet. To add a Vehicle, click the "Add" button and fill in the details. The Vehicle Model and Registration are mandatory as notated by an asterisk. Vehicles within your Fleet can have a variety of information logged against them. User's are also able to create Notes for Vehicles which may be used to inform future driver's of important information about the Vehicle.
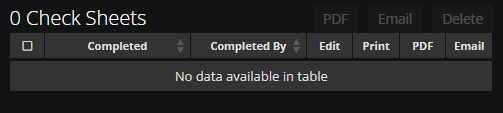
If you have the Vehicle Check feature enabled on your WorkPal system, any Vehicle Checks completed for this Vehicle will be listed and viewable here as well. Completed Vehicle Check sheets can also be downloaded as a PDF or emailed. For more information on this topic, visit our guide on Vehicle Checks
Documents can also be attached to Vehicles. This is useful if you would like to attach Tax or MOT certificates to a Vehicle so that the current driver has easy access to them. They can be attached by clicking the button shown below.

Vehicles can also be "Checked Out" using the button below to open the Check Out page.

The Vehicle Check Out page allows you to assign a Vehicle to a User. All of a Vehicles Check Outs can be viewed and edited on this page if need be.

If a Vehicle has already been checked out to a User, and you attempt to check it out to another User, you will be prompted with a warning, but you are able to continue with this if needed. Continuing with this action will simply end the current Users Check Out period and re-assign the Vehicle to the new User.

To learn how to batch import multiple Vehicles into the Fleet feature, please see the Data Import guide here: Importing Data