
This guide will show you how to easily create a Job in WorkPal.
Click the 'Jobs' tile to go to the jobs list, from there, click the add job button located on the top right hand side.
You can access the jobs list from the Jobs tile on the homepage or the Jobs menu item at the top of the window.
On the Add Job Screen fill in the required details.
The new Job Form has several required fields: Group, Client, Site, Job Title, Job Type
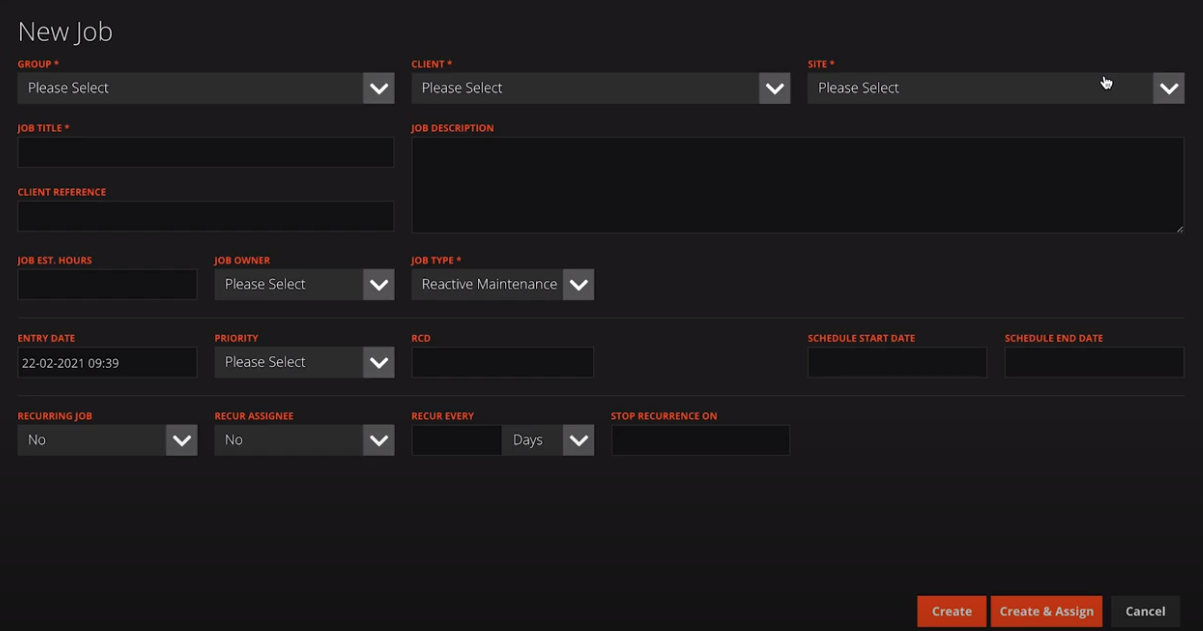
The Priority and Job Est. Hours fields will help with the visual job Scheduler. You can schedule the Job using the Schedule Start Date and Schedule End Date fields. The new Job has several required fields: Group, Client, Site, Job Title, Job Type
You can also create a Recurring Job that repeats based on a set timeframe and a Recurring End date which dictates when this recursion stops.
You also have the option of selecting specific Weekdays for the Job to recur on:

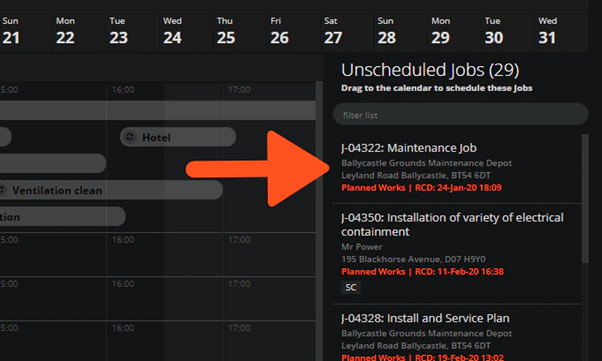
At this stage, you can assign the job to a User, or save it without a User to assign later in the Scheduler. Jobs saved without a Scheduled Start Time, Scheduled End Time or without an assigned User will not be added to the Scheduler, but instead will appear in the “Unscheduled Jobs” panel. They can then be dragged into the appropriate time slot and User track in the Scheduler.
To learn how to batch import multiple Jobs, please see the Job Import guide here: Importing Jobs