
How to complete a job on the App.
Once you've downloaded the WorkPal app, you'll be greeted by the login screen. You'll need to put in your email and password. This will be the username that either the WorkPal support team or one of your company's desktop users will have set up for you.

Once you've successfully logged in, the WorkPal app will begin its initial synchronisation, pulling down all the information for any jobs you've been assigned. Just a heads-up, this might take a few minutes to complete, largely depending on the speed and stability of your internet connection.
To begin working on a job, simply click the "jobs" tile.

Once you’ve tapped into the job tile, you’ll be presented with a list of all jobs currently assigned to you. These jobs are grouped into four distinct status categories to help you track progress and manage your workload effectively:
-
Not Started – These are newly assigned jobs that you haven’t begun yet. As soon as a job is assigned to you, it will appear in this section until you open and start working on it.
-
In Progress – Once you’ve started a job, it will automatically move into this category. This indicates that work is actively being carried out.
-
Paused – If you need to temporarily stop work on a job (for example, if you’re waiting on materials or a site becomes inaccessible), you can pause it. The job will then be listed under this status until you’re ready to resume.
-
Completed – Once all required work has been finished and submitted, the job will move to this final category.
These statuses are designed to give you a clear overview of where each job stands at any given time and make it easier to prioritise your tasks throughout the day.
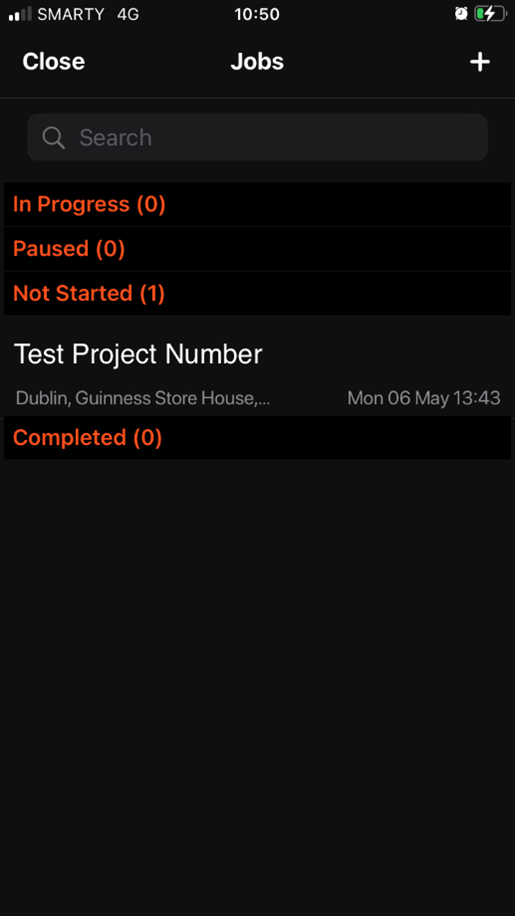
Once you’ve tapped into the specific job you’d like to begin, you’ll be taken to a detailed job overview page. This screen provides all the essential information you’ll need to carry out the work effectively.
Here, you’ll find key details such as:
-
Site address – The location where the job is scheduled to take place.
-
Contact information – Names and numbers of relevant site or client contacts, should you need to get in touch.
-
Scheduled start and end dates – These indicate the timeframe within which the job is expected to be carried out.
-
Estimated duration – An approximate indication of how long the job should take to complete.
This page is designed to give you a comprehensive snapshot of the job before you begin, helping you prepare and plan your day efficiently.

Directions to Job:
You also have the option to click the "Directions" button to view the map and get directions to site using your default maps app.

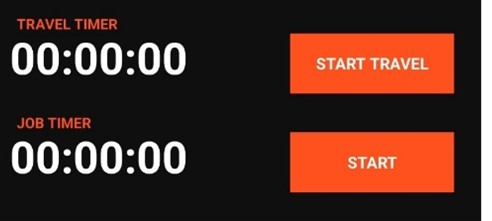
Depending on how you have the system set up you may need to start your travel and job timers before being able to add any information to jobs, This can be done by clicking the start travel or start job timer buttons.
Viewing and adding helpers.
Click View Helpers:

Once you’ve selected the ‘View Helper’ option, you’ll see a list of any helpers currently linked to your system, both active and inactive. This allows you to easily check who is available to assist on jobs, and whether their status is currently active or inactive.
Please note that while you can view helper information from your device, only desktop users have the ability to add or manage new helpers in the system.

Once you select the helper you are wanting to assign to this job the helper will then have to give their signature.

Once they have signed you will now see in the helper section that it will say 1 helper whereas before it was 0.

Add or View Notes
You can view any notes added to the job by desktop users during its creation, as well as any notes recorded during previous visits (depending on the type of notes available), by tapping the ‘View Notes’ button. This gives you valuable context or instructions that may be relevant before starting work.
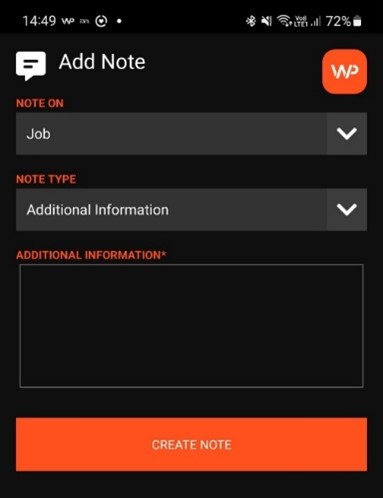
If you need to add a new note—for example, to log progress or highlight an issue—simply tap the ‘Add’ button. This ensures all relevant information is recorded and accessible for future reference or for the wider team.

Once you’ve tapped the ‘Add Note’ button, you’ll be given the option to choose where the note should be applied. For example, you can attach the note to the job, the client, the site, or another relevant area—depending on what the note relates to.
This flexibility ensures that important information is recorded in the right context, making it easier for both you and your team to refer back to it when needed.
Add or View Documents
If you want to add documents to a job simply Select "Add" to add a new document to the job, this could be a safety cert, any plans/blueprints etc or view existing documents that have been added already.

Add or View Forms
The same process above is followed with forms also, if you want to add a form simply click the add button, and once there is a form added you will be able to click "view" and view completed forms or finish forms that you have not completed yet.

Add or View Images
Select Add to add or view images.

Depending on whether you are on iPhone or android this can be a bit different, On iPhone you simply click the "add button" and you will be prompted to choose whether you want to take a new photo or add one from the gallery. On android, you will need to tap and hold the add button for a few seconds to get those options to appear.

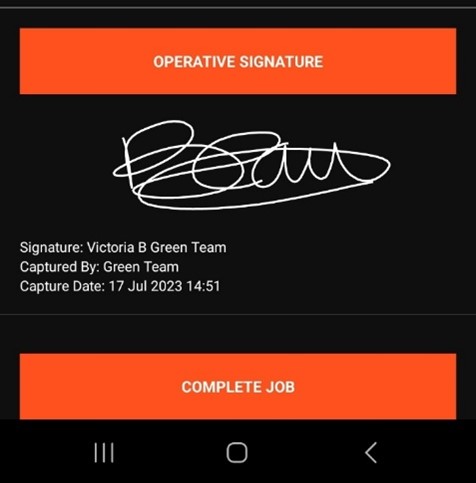
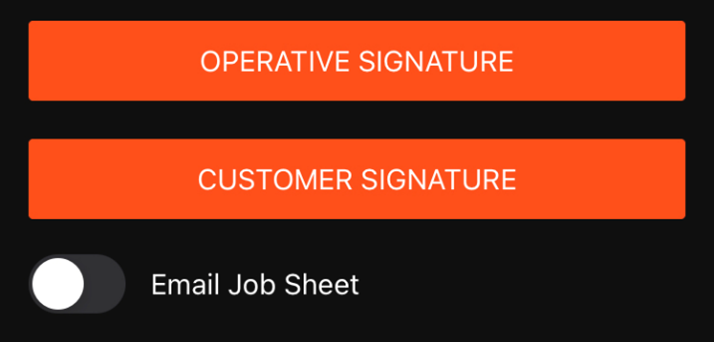
Signature(s)
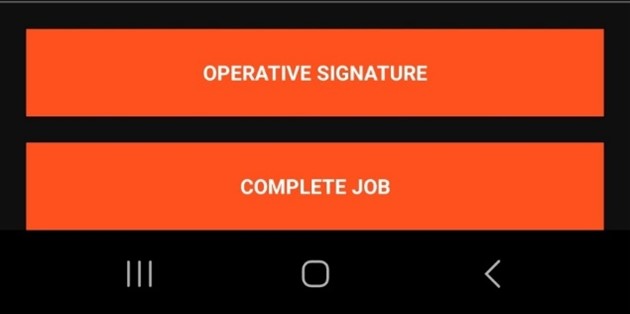
Click "Operative" Signature. This is for the mobile user to sign off on a job that a job or a form has been completed.
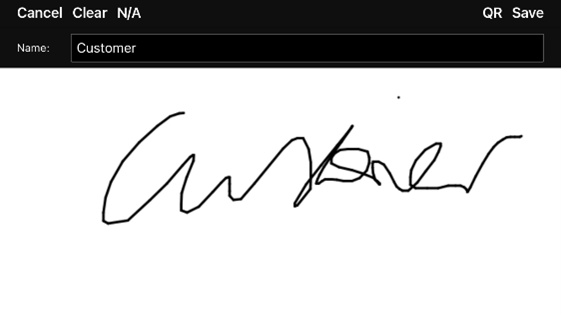
Click "Customer" Signature to capture a customers signature.
Click Complete Job

Click Complete Job to confirm. This will then move this job into the "completed" status on the jobs page, and after a few hours the completed job will be removed from your device.