
WorkPal will allow you to create a login for each of your Clients until you reach the maximum number of Client Portal Users specified on your Order Form. Additional licenses for Client Portal Users can be purchased at a later date, or you can remove an existing Client Portal User to free up a license for a new one.
When a Client Portal User logs in, they will only be able to see Sites and Jobs belonging to that particular Client. WorkPal can hide the entire Tasks or Parts section (where applicable) from the Client Portal if you do not wish them to see this data.
WorkPal can also control what Forms and Notes are viewable (where applicable). Everything else will be viewable but the Client Portal User will not be able to edit or add any additional information.
The visibility of Forms to Client Portal Users can be controlled in the Preferences Menu, under the Forms tab.
Beside each Form, it will list each user type that it is visible to. This can be adjusted by editing the options of the Form.
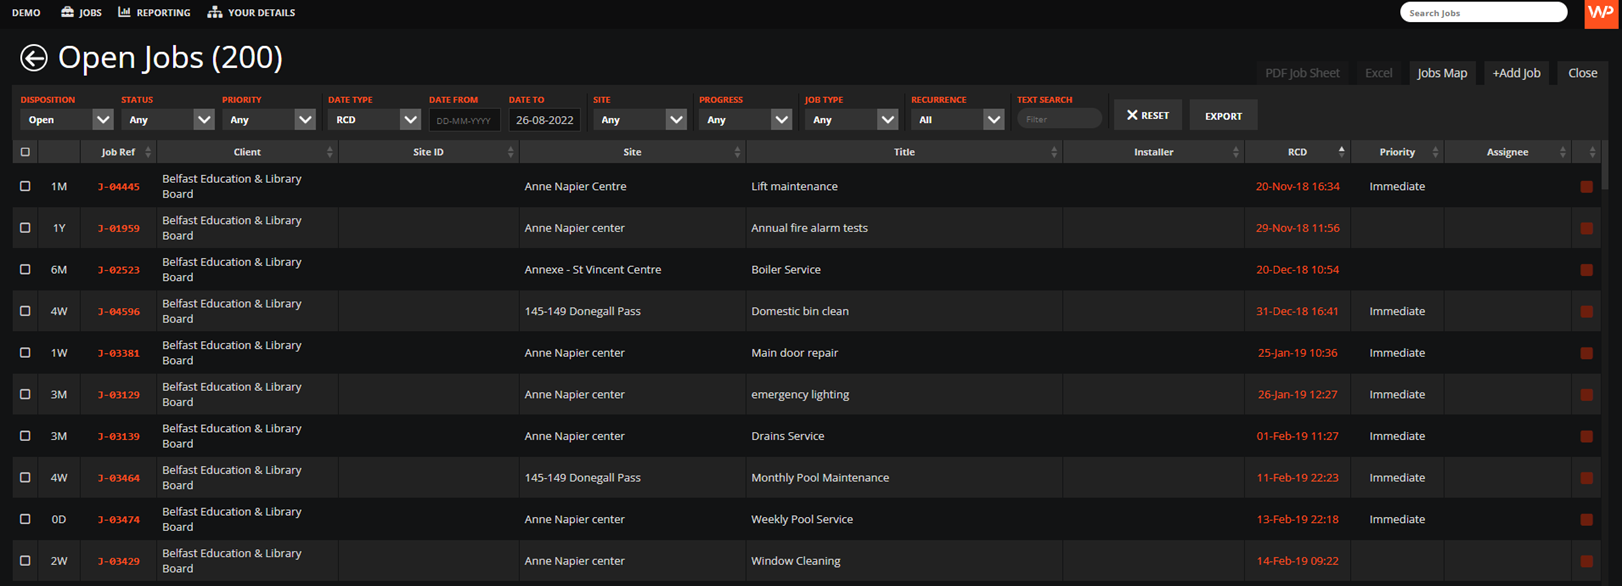
Here’s a screenshot of how the Client Portal will appear on your Client’s side:

Adding a Client Portal User:
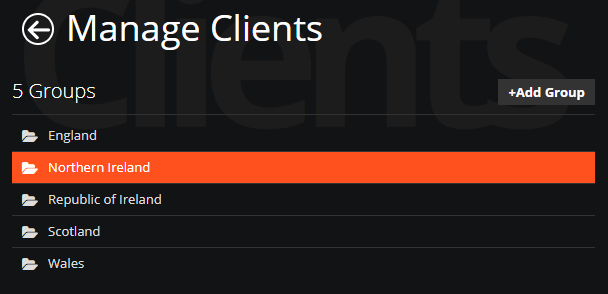
In the WorkPal Portal go to Clients

You can also use the Clients tab in the top menu

Select the Group from the list
Double Click on the Client

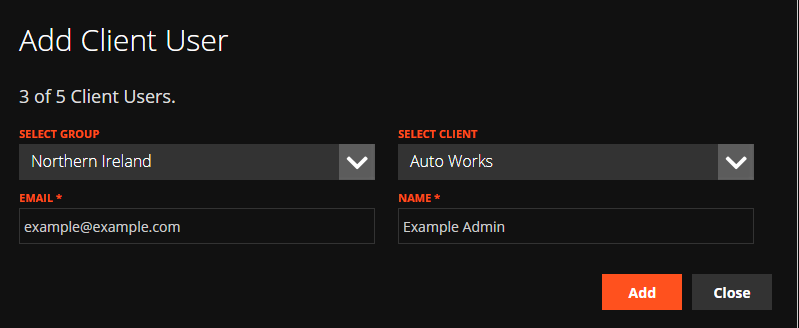
If you want to add Client Portal Users just select +Add Client Portal User

Select the Client you would like to connect the Client Portal account to and fill in the details below. Once you have filled this in just select Add
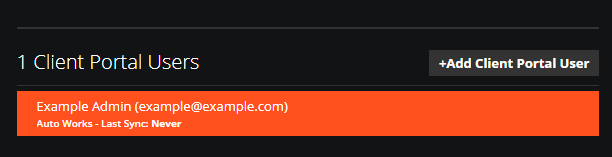
Your new Client Portal User will be shown on the Client page you selected.
Double click on it and you will be able to edit it.
You can also Edit and view the Client Portal Users from the Users page, under the Client tab.