
This guide will show you how to easily create a Client in WorkPal.
Click on the Clients tile to go to the clients section of WorkPal
Select the group where you want to add a Client.
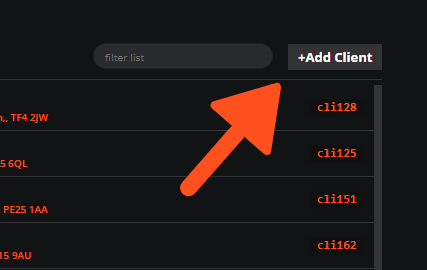
Click the +Add Client button.
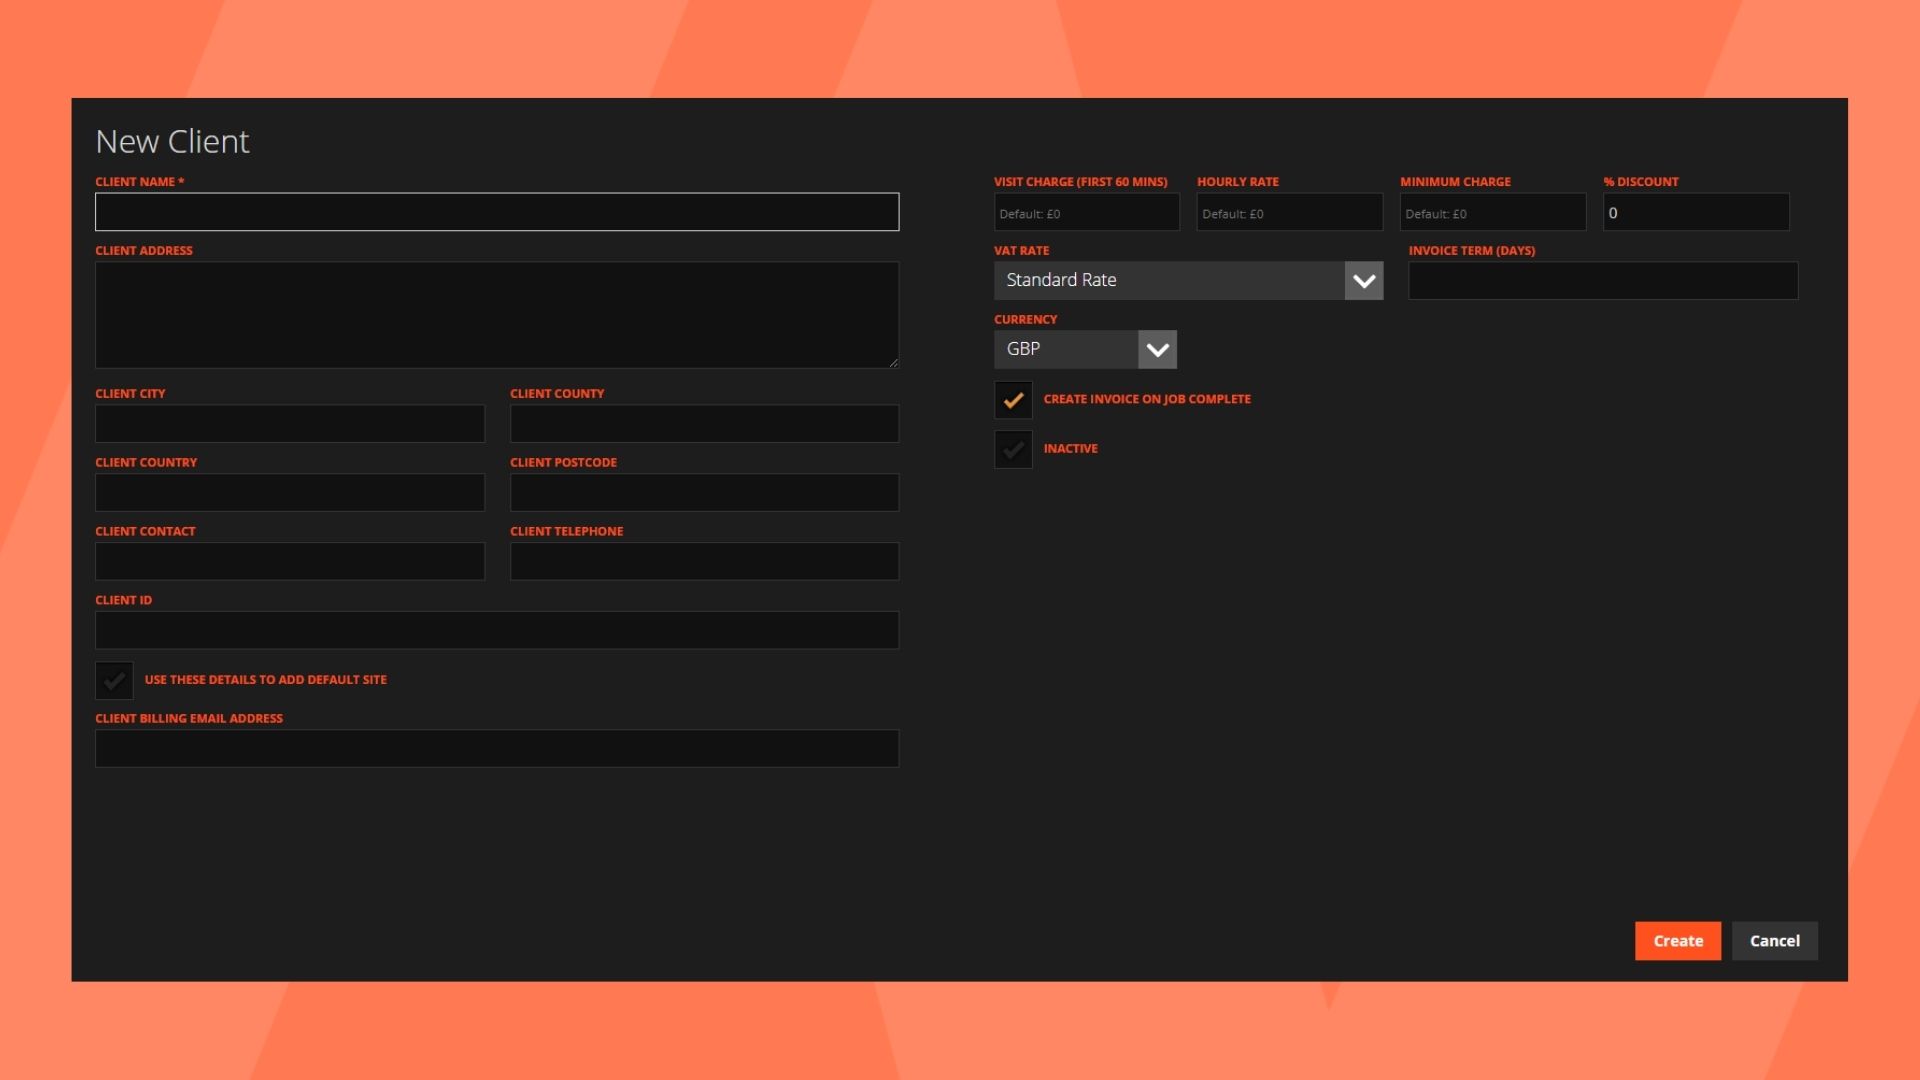
This will bring up the add client screen where you can now add your client details, including client's name, address, specific VAT rates and callout charges (if required).
Client Billing and Management in WorkPal
WorkPal offers comprehensive tools for managing your client's billing and overall relationship. Here's a breakdown of the key settings available on each client's page:
Financial Settings
- Client Rates and Charges: These pre-defined rates are automatically applied to the time logged against a job, forming the basis of your invoices.
- % Discount: You have the flexibility to apply a percentage discount to all invoices generated for this specific client. Simply enter the desired percentage in this field.
- Invoice Term: This critical setting dictates the number of days your client has to settle their bill. The agreed invoice term will be clearly displayed on all invoices issued to this client.
- VAT Rate: The applicable Value Added Tax (VAT) rate for this client's invoices can be set directly on their client page, ensuring accurate tax calculations.
Automated Processes
- Create Invoice on Job Complete: By ticking this checkbox, WorkPal will automatically generate an invoice for any job completed for this client, streamlining your billing process.
Client Status and Data Management
- Inactive: Should you wish to hide a client from your active list while retaining all historical job data for record-keeping purposes, simply select the 'Inactive' checkbox. This is useful for clients who are no longer active but whose past information needs to be accessible.
- Use these details (Default Site): For clients with a single site, you can effortlessly create a default site using their existing client details (such as address) by clicking 'Use these details'. This saves time and ensures consistency when setting up new jobs for that client.
We trust these options provide you with the control and flexibility needed for efficient client management.
To learn how to batch import multiple Clients, please see the Data Import guide here: Importing Data