
Accessing the Form builder
-
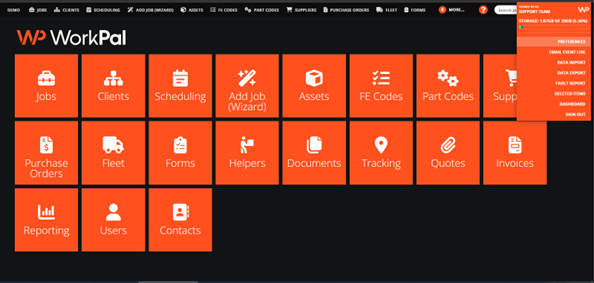
Select WP menu from the top right of the Application and choose the Preferences option
- Select the Forms tab
- Click Add button on the right to create a new Form

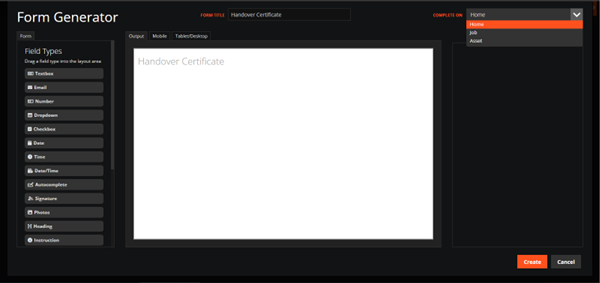
Form Setup
- Add a name for the Form in the Form Title section.
- Select the Form Type from the Complete on dropdown box
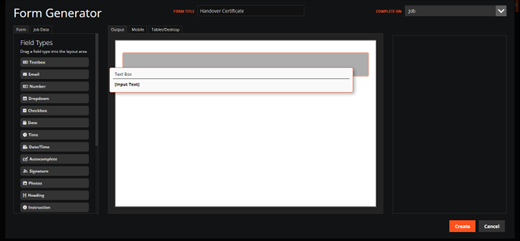
User Data Entry Fields
Data Entry Fields can be added to the Form by dragging and dropping them from the Toolbox on the left. These fields allow the User to enter data when completing a Form.
1. Click and drag to add a Field Type.
Note: These can be TextBox, Email, CheckBox, Dropdown, Date/Time, Number, Autocomplete, Photos or Signature fields.
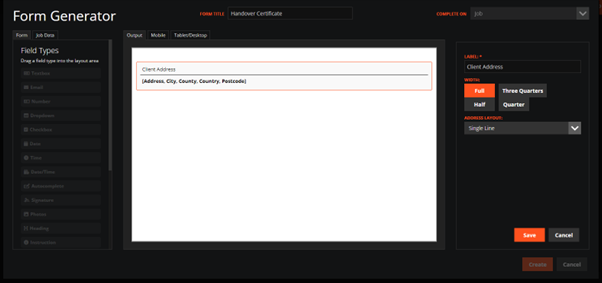
The properties window at the right side allows you to change various options of the Field
-
Label refers to a piece of Text that identifies a Field.
-
Placeholder refers to a text prompt for the User.
-
Lines refers to how many lines of text the Field covers and allows for more text to be entered.
- Width refers to how much space the Field will take up onscreen.
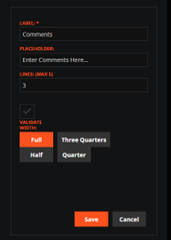
These options will make the Field appear as below.
2. Click Save to confirm the options for the field.
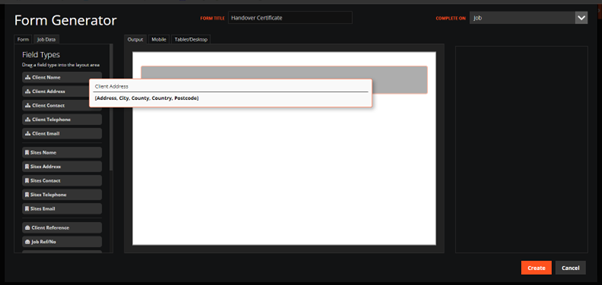
Data Fields
Changing the Form Type allows you to access Job Data Fields from the Toolbox. Dragging and Dropping these Fields onto the Form will allow the Form to populate itself with data automatically when being filled out.
Note: Now when this Form is run against an existing Job, this Address Field will be filled automatically with data that already exists on the Job.
Like User Data Fields, the properties window at the right side allows you to change various options of the Data Field.
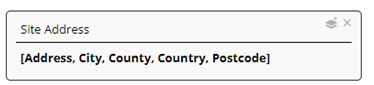
Field Options
Hovering over any Field placed on the Form will show two options in the top right of the Field. The first option duplicates the Field and all properties. This is a quick way to create multiple Fields of the same type. The other option removes the Field from the Form.
Headers And Footers
Headers and Footers can be created on the Forms tab in the Preferences Menu.
The textboxes here allow rich text, formatting and the insertion of tables, images and links.
When finished, click "Update" at the top right of the Forms page to save changes to the Header and Footer.
Headers and Footers will appear on all Forms when generated.
Validation
Validation refers to checking that data has been entered into the Fields.
See below where a Validation message has been added to the Signature Field. With validation applied, the User cannot complete the Form without completing the Signature first. Validation can be applied to nearly all Field types. An asterisk will appear beside any required fields.
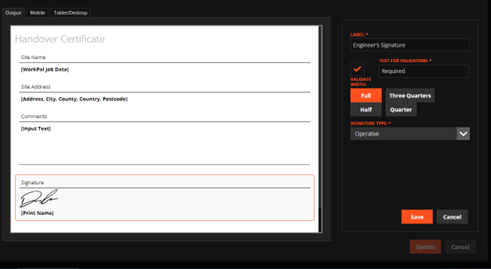
Design Preview:
Toggling Fields
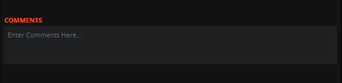
Certain fields which are optional can be set to toggle on or off based on the selection of another field. For Example, below shows a Checkbox which is set to toggle the Comments Textbox.
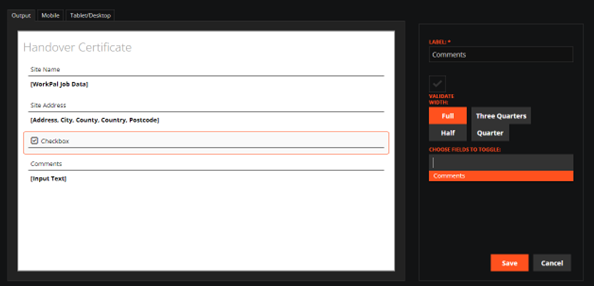
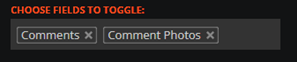
Note: Multiple Fields can be toggled from one Field so that entire sections of the Form can be turned on or off.
For the Dropdown Field, Toggle Rules can be set to toggle other fields on and off based on the option selected
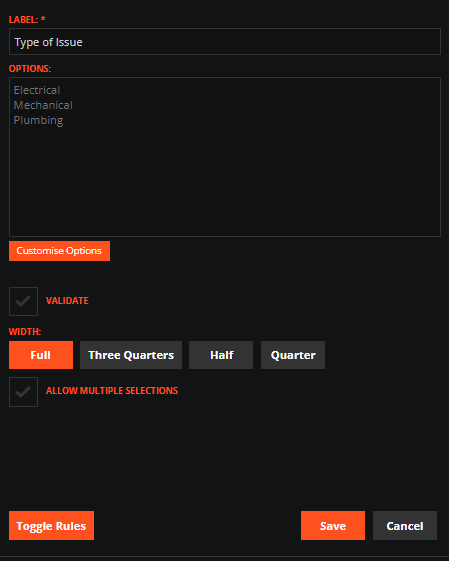
Once you have added your options, select the "Toggle Rules" button to view and add rules:
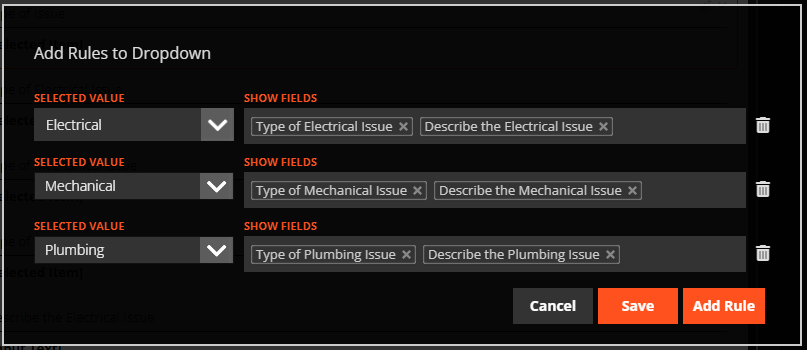
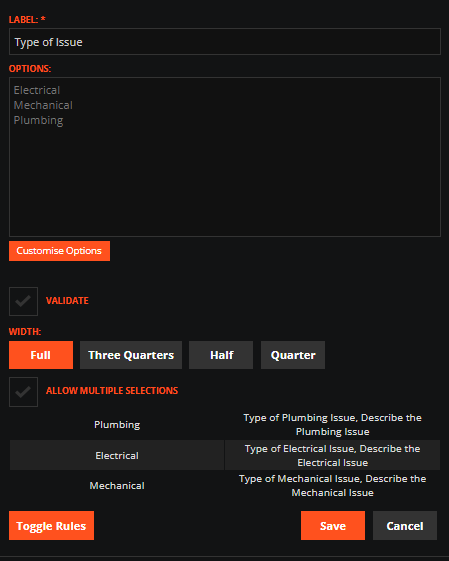
Once finished setting the rules for each option, click "Save" to see these rules listed:
Previewing A Form
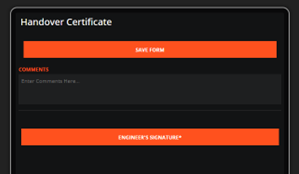
Forms can be previewed to check if their design / layout is as expected. Using these tabs at the top, you can see that the Form will look like when viewed on Mobile or on Desktop.
Note: Data Fields which use existing Data will not appear when previewing. To view a Form in its complete state, it needs to be opened against an existing Job / Asset.

Completing Your Form
Click the Create button at the bottom right to complete your Form.
Note: Closing the Form Builder without Creating the Form will lose all progress.
The Form appears in the Forms tab in the Preferences Menu and can be attached to Jobs or Assets depending on the Form Type.
The design of the Form can be edited at any time using the button at the right side.
