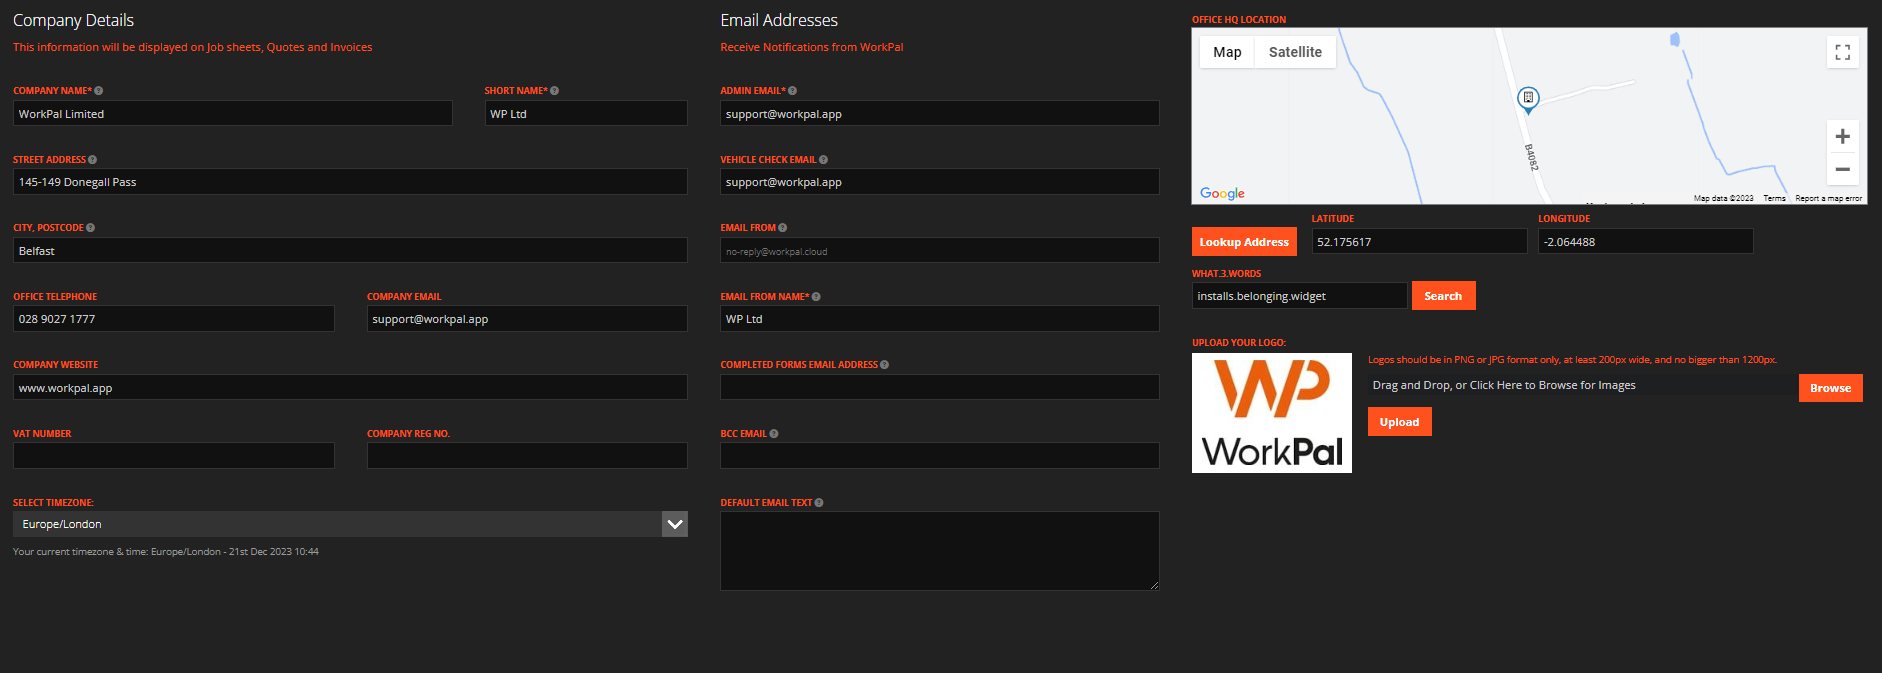
Preferences
Details Tab: Preferences will show you your company details page so you can update your logo and company details.
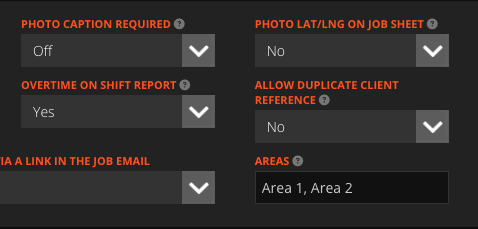
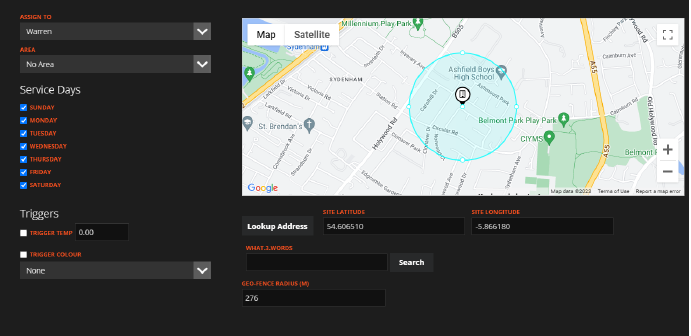
You have the ability to add Areas from your preferences in the general settings tab, Your Area is the location you are getting your temperatures for, which you can assign sites to.
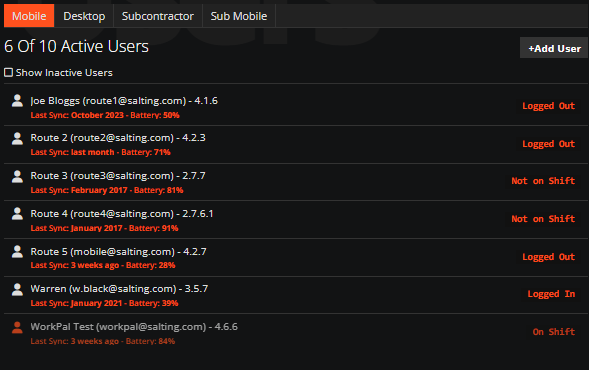
Desktop and Mobile Users
Users: Create Mobile and Desktop users. Mobile users will be labelled as Routes.
Clients and Sites
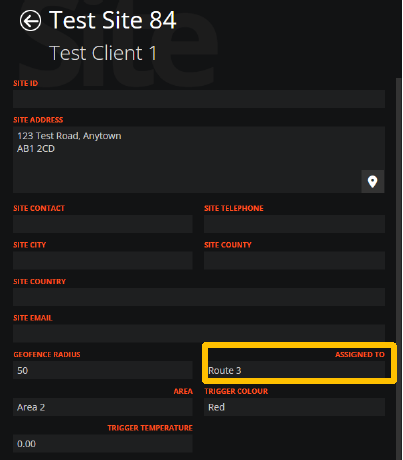
Add your client(s) and site(s). Add the Route on the Assigned To Section on Sites. This ensures mobile users are automatically assigned job creation. If you select the WP logo and go to the data import section, we have a site template where you can bulk upload all sites with trigger temperatures, service days, areas, geofence radius and who the site is assigned to. Once the site is created you will see the information against the site like below:
Once clients and sites are added, You can update each site if something changes to include temperatures, service days and assigning route.
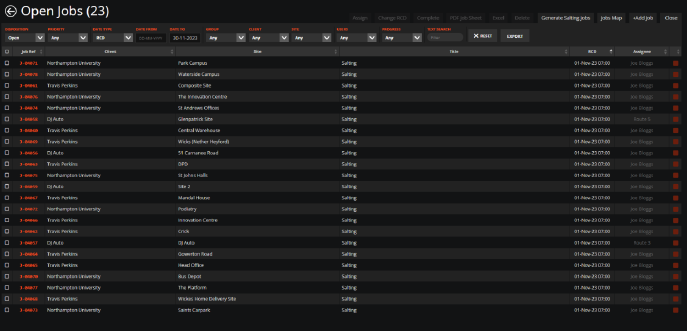
Create Jobs
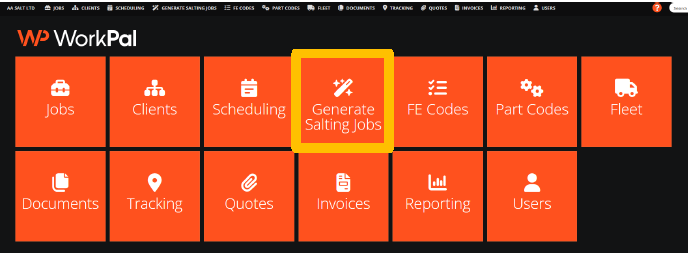
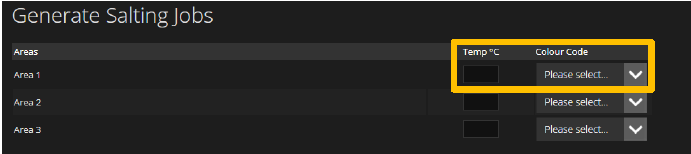
Click Generate Salting Job.
Add temperature per area. This triggers a job depending on the temperature and colour if selected.
Note: For colour triggers the following rules apply:
Red - Includes all Sites
Amber - Includes Amber
Yellow - Yellow sites only
Change the job entry date and/or RCD.
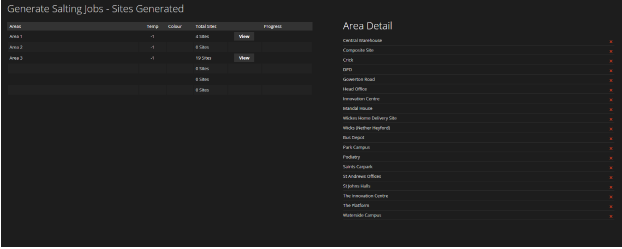
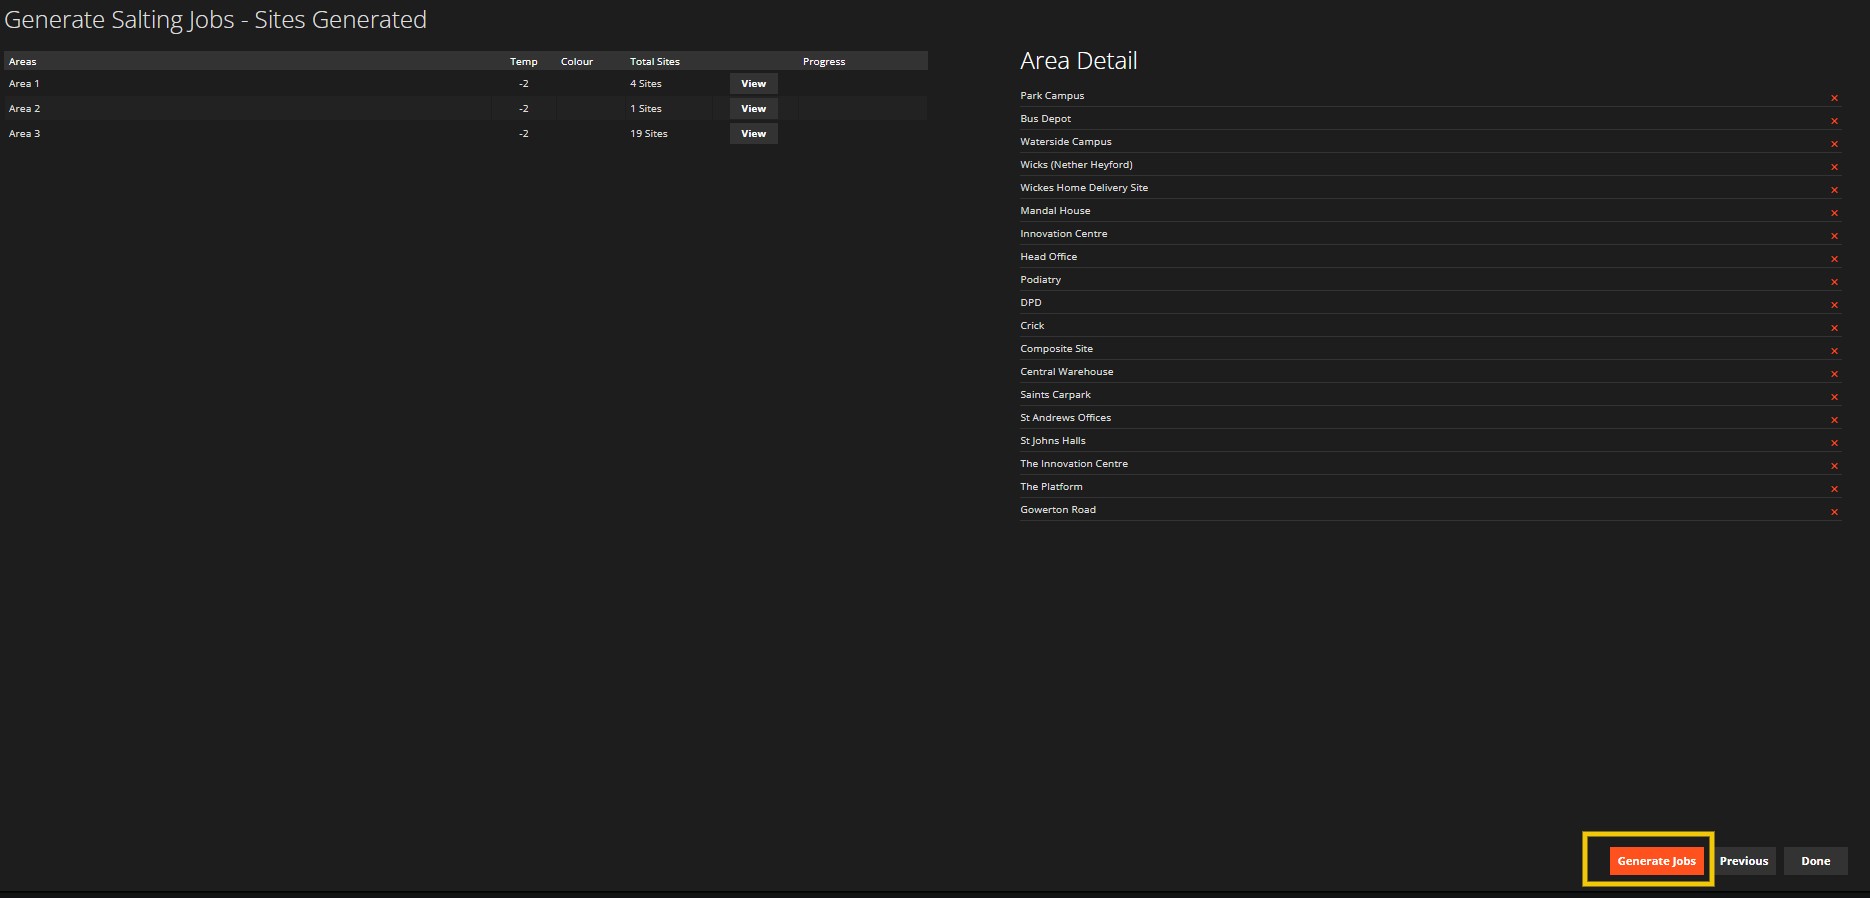
Click Next for Sites Generated Page

Sites generated page shows the following:
How many sites are affected by the temperature
How many jobs will be created.
Option to remove any sites that don’t need salted.
Click Generate Jobs
Jobs are created are preassigned to a route and mobile users receive job alerts.